 Future
Goal: digital walkie-talkie to manage disaster and communicate in dead zones. Stack: ESP32-S3, C++, ESP-NOW, I2S, KiCad, Fusion 360. Time: ~50 hours Idea: Built a p2p 2.4GHz mesh radio for reliable comms in rural Nepal, bypassing dead zones with low latency and in the emergency situation like flo
- 48.9h
- Devlogs
future_sanchar-jaal
Future_sanchar-jaal is a custom, open-source digital walkie-talkie powered by ESP32-S3. Unlike traditional analog radios those suffer from static or require a central router to work, this device uses the ESP-NOW v2 protocol to create a direct p2p 2.4GHz network.
What makes it unique??
It is unique because it used i2s components alongside a massive 1440 bytes transmission buffer which helps to deliver a crisp voice with an ultra-low latency. Also it uses esp32-S3-wroom-1u which has ipex antenna connector in it which has drastically helped to increase the range of walkie talkie. It provides upto 800+ meters range under normal conditions and if with obstacles it provides upto 200 meters range.
Why I made it??
Recently my country Nepal suffered a devastating flood which ruined so many human lives. So I thought that if I could make a Lo-Ra walkie-talkie, I could warn the people using the walkie-talkie along the long distance. Also in Nepal, due to difficult geography, the cellular network coverage could be unreliable when trekking and traveling through rural areas. In conclusion, I made this walkie-talkie to solve the real-world problem and help communicate over long distances easily.
How to use it?
- Turn on the slide switch on the front side of the walkie-talkie.
- The LED will flash Blue when booting and OLED will display "Sanchar-Jaal Boot".
- Once the screen displays "Talk!! I am Listening..", you are ready and connected to the network.
- Then press and hold the Push to Talk button in the front then the led will turn RED, and the screen will display "Transmitting.....!". Then you should speak near the microphone grill.
- We will have paired devices, so when one talks the LED will turn GREEN and audio will automatically play through the speaker in front.
- If the walkie talkie glitches then there is reset button in the back why can press that to fix the walkie talkie.
- If the battery finishes then you can charge it through usb c in the left of walkie talkie
- You can adjust the volume also from the onboard potentiometer to make the desired volume.
Assembly Instructions:
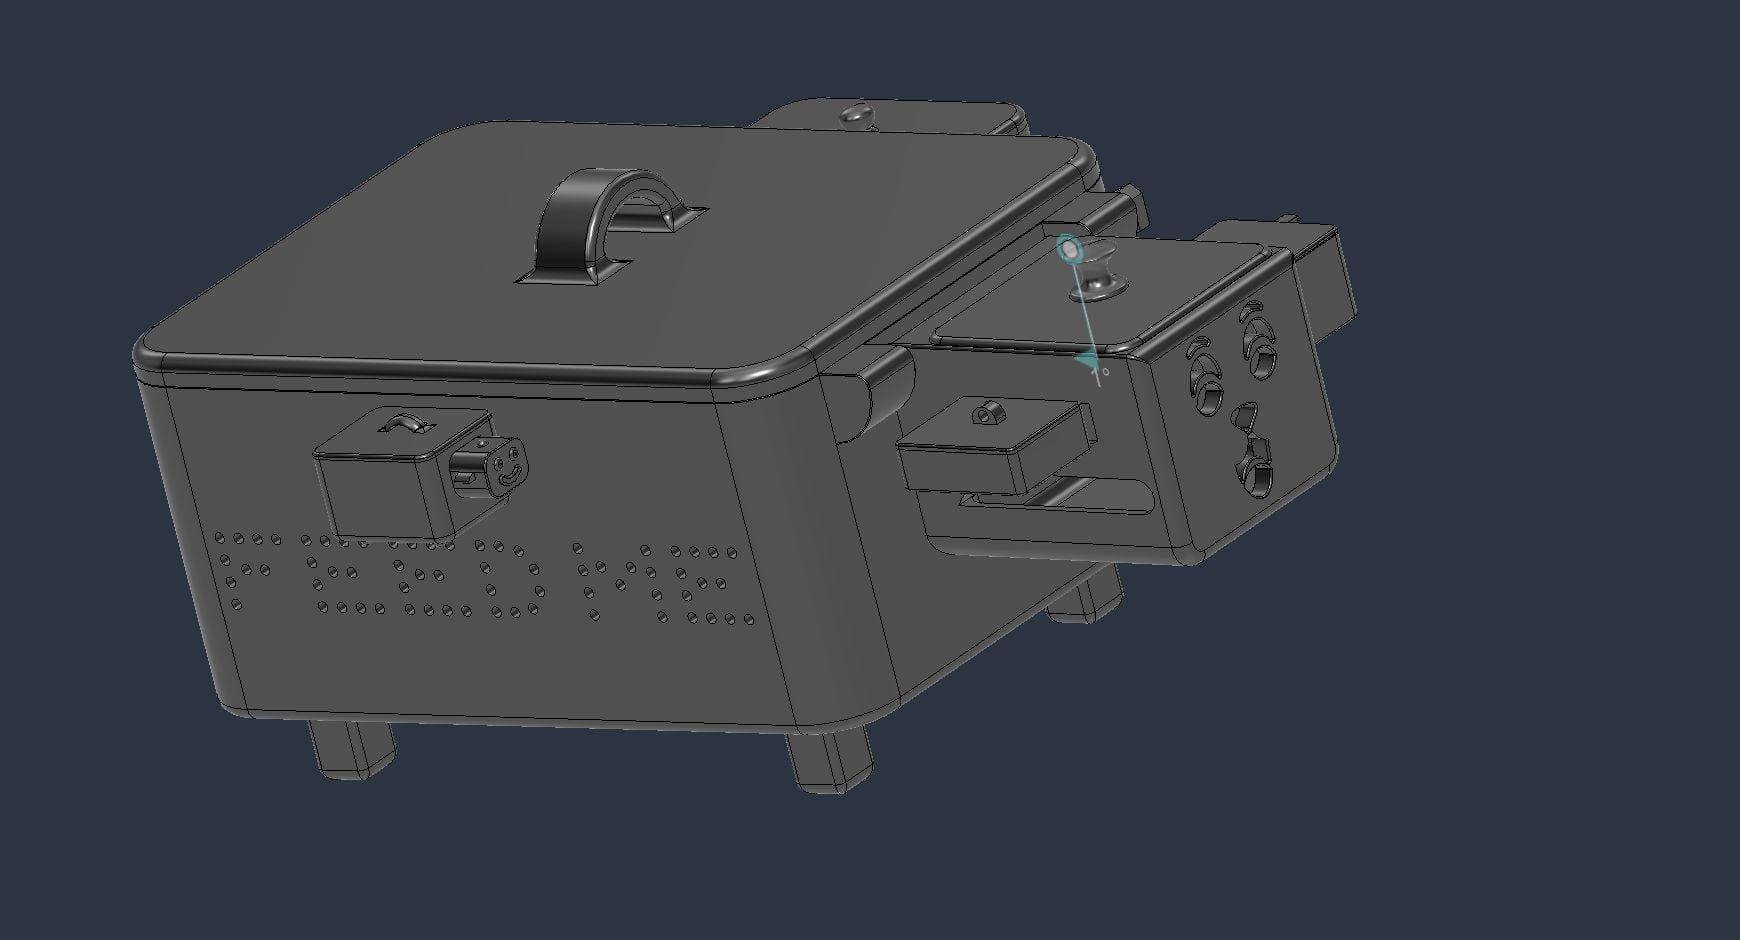
3d print enclosure:
- All cad files are provided in the github repo.
- there are 3 separate cad files to be printed top lid, bottom lid and the base.
- You should print those 3 files separately
PCB & soldering:
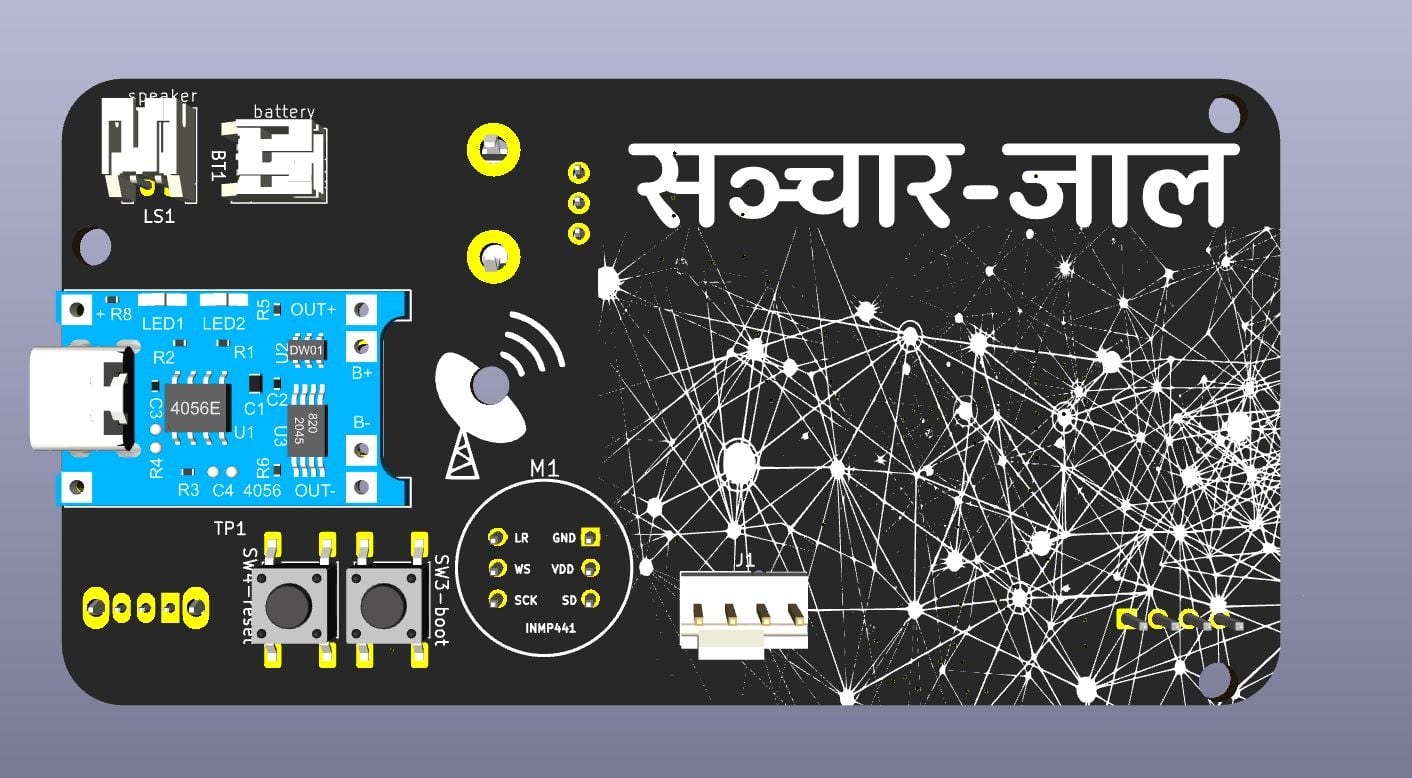
- All required files are provided in Production folder inside pcb_sanchar.
- solder all the smd components first as indicated in silkscreen
- then solder the usb-c breakout board to its assembly place in the left of walkie talkie using a wire i.e connect In+ and In- of tp4056 to the breakout board VBUS and GND respectively.
- then secure all the components in their respective mounts as in CAD.
Flashing firmware:
- Connect your FDTI adapter to J1 programming header on the board.
- Open the firmware file in the arduino ide.
- Hit upload -- when the console says connecting hold the BOOT button in the pcb and Press and release the RESET button then release the boot button.
- Wait for upload to finish then press BOOT button to boot the device.
- Then to pair the two devices check the serial monitor and find the MAC-address of DEVICE 1 and paste it into the code for DEVICE 2 (and vice versa).
Assets:
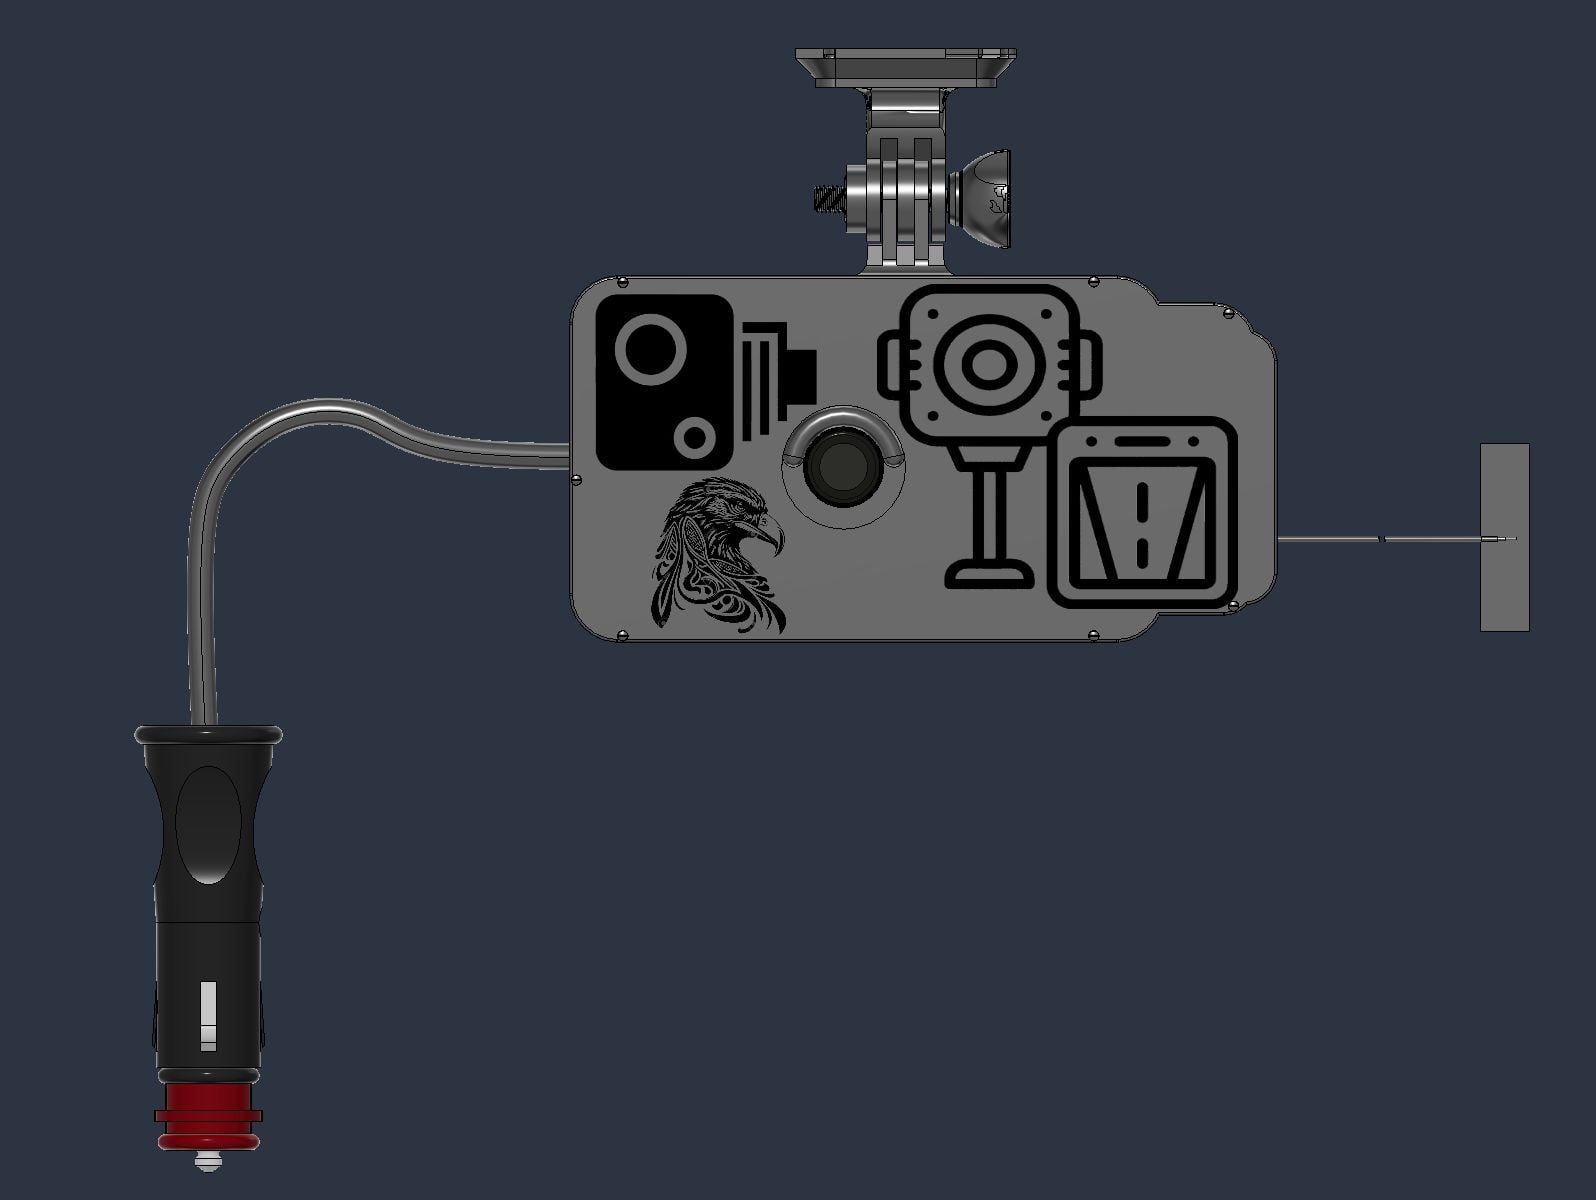
Cad Screenshots:
CAD link:
fusion360 ::: Sanchar-jaal-cad
Pcb:
Schematic:
How it was built
15 devlogs, 15 to watch48.9 hours recorded with Lapse.
More by Biraj
Their other projects in Future.